What does it take to create a mini-map for a Unity game? You most probably would be surprised to hear that it’s easier than you think, and that it does not even require any programming skills! Here I will try to explain how to make one step by step.
Basic minimap concepts
 Minimaps (or radars) are known for displaying information about our surroundings. First of all, mini-maps should be centered on main character. Secondly, it should use readable symbols instead of real models because minimaps are often quite small and the player wouldn’t recognize the information that the minimap is trying to present.
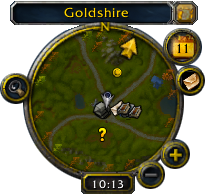
Most minimaps are circular, so we will also try to create one. Quite often you will find additional buttons and labels attached to it. That’s what we will try to recreate too.
Preparing the scene
Let’s start with adding something to the scene. I’ve created a new scene with Unity Chan (she will be the player) and two robots (as enemies).
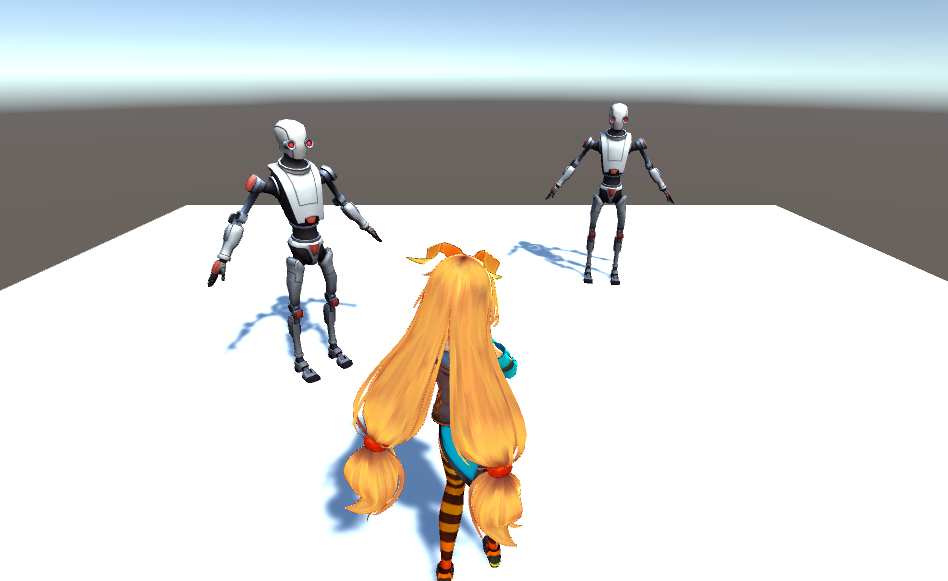
Now let’s add a second camera. Just click on GameObject -> Camera and rename it to Minimap Camera. Then make this camera a child of Unity Chan model (so it will follow her) and move it 10 units above her head looking down.
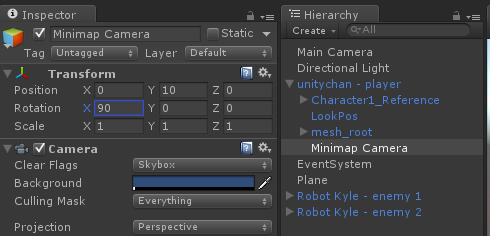
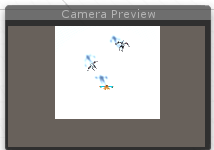
For good effect set Transform position to 0, 10, 0 and rotation to 90, 0, 0. The camera should be seeing something like this:
OK, but that’s not a minimap yet. When you will launch your scene now, the picture from the camera above will be the only one rendered on the screen. We have to tell the game that we want the minimap to be a Unity UI element.
Rendering to Unity UI
To do that we will require a Render Texture. You can easily create one by choosing Assets -> Create -> Render Texture from the main menu. Create and rename it to Minimap Render Texture.
![]()
Now select Minimap Camera and in the Inspector assign Minimap Render Texture to Target Texture field.
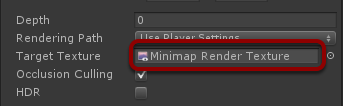
If you will try to launch the scene you will notice that Minimap Camera picture is nowhere to be seen. The result image is now hidden in our newly created render texture.
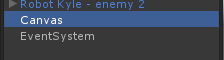
Let’s now create a Canvas to add UI elements on it. Choose GameObject -> UI -> Canvas and you will be able to find one on your scene.
Canvas would require a Raw Image to use Render Texture on it. Select GameObject -> UI -> Raw Image, rename it to Minimap Image and in its inspector assign Minimap Render Texture into a Texture field.
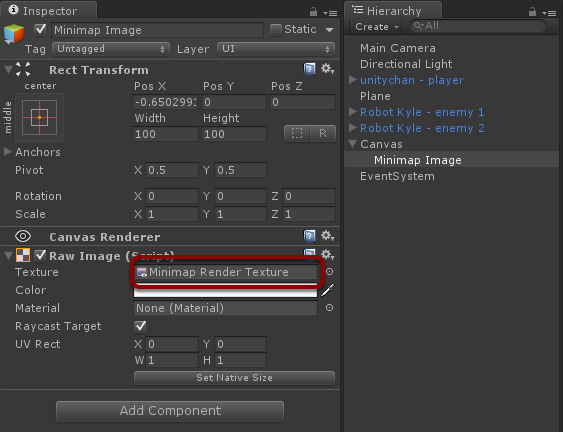
It will result with a Unity UI element that now renders Minimap Camera image in it!

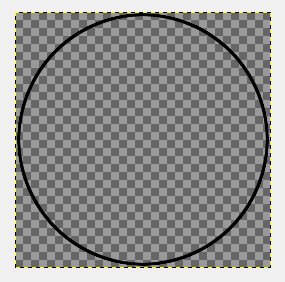
Now let’s make it round. For this purpose I made a simple mask texture:
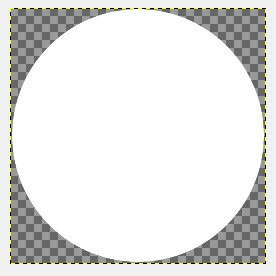
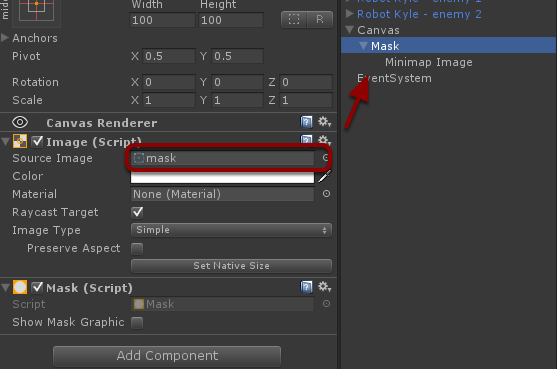
Create a new Unity UI image, add Mask component to it, set our new mask texture to Source Image inspector field, and make Minimap Image a child of our Mask. (Tip: disable Mipmaps for mask textures to get a better visual effect).
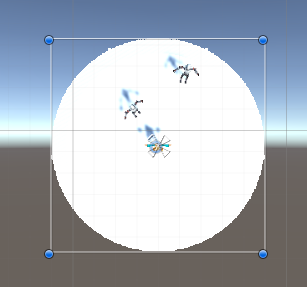
This setup will make our minimap look like this:
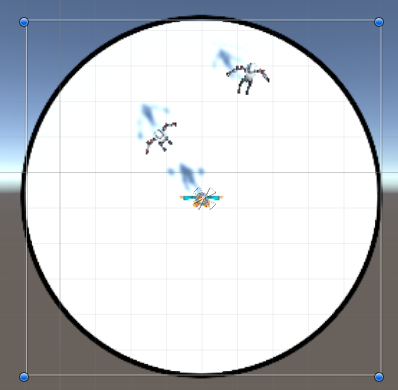
White minimap on white background will not look so good. Let’s add a border image over it:
To make moving it around simpler, I’ve grouped everything under empty game object called Minimap.
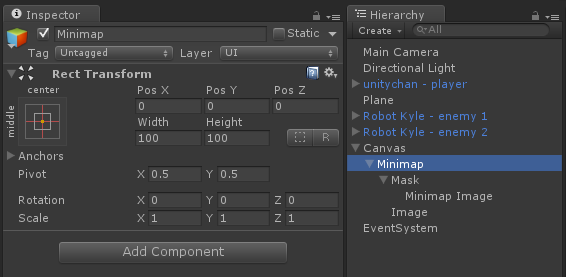
Finally let’s move our new minimap to top-right corner of the screen.
Looks nice, doesn’t it? But it is still not a valid minimap just, it’s a camera rendering game from the top. If you’re familiar with layers then most probably you know what I will do next!
Fun with layers
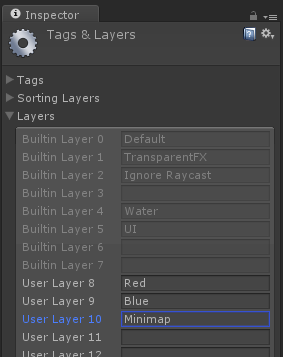
We will need at least one additional layer. Go to Edit -> Project Settings -> Tags and Layers and add a new layer caller Minimap.
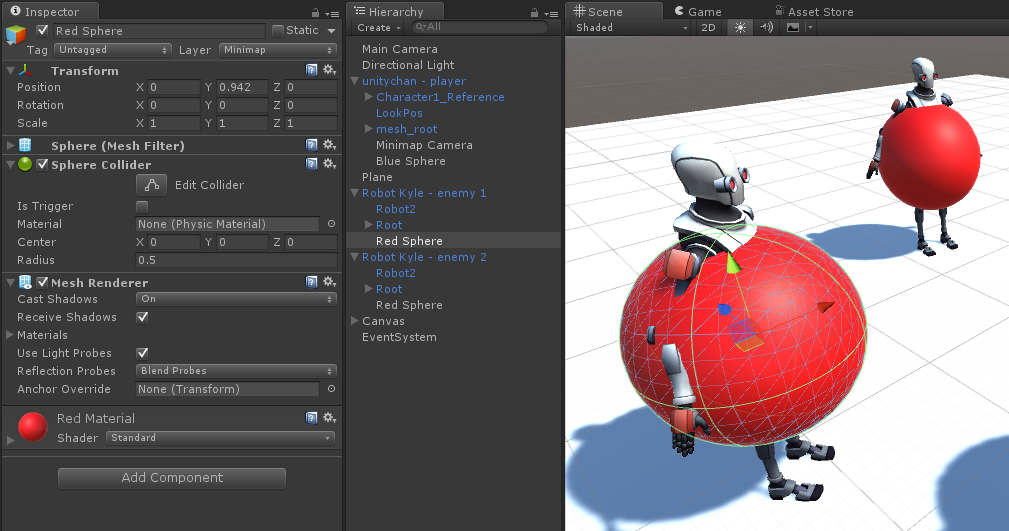
Now lets create three spheres. One will be blue and should be located in the same place where Unity Chan is standing. The best would be to make this object a child of Unity Chan. Finally make sure to set its Layer to Minimap.
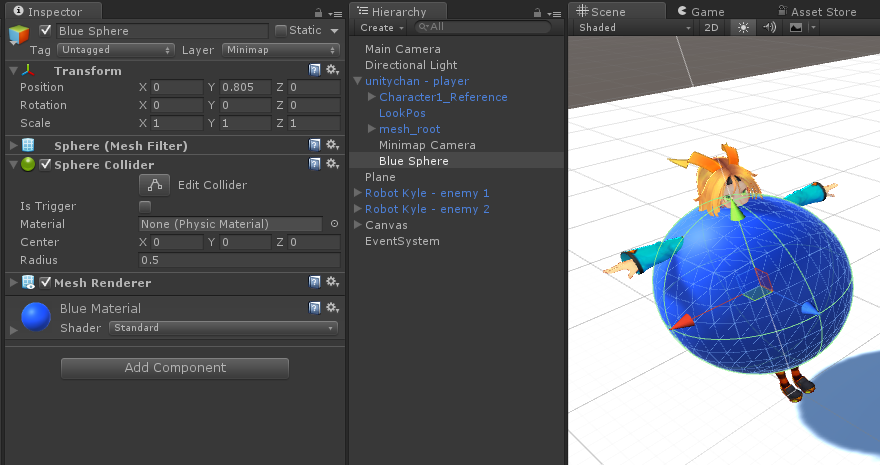
Do the similar for two Robots, but instead of blue sphere make them red!
Now is the best part! Select the Main Camera and make sure than its Culling Mask has Minimap layer unset.
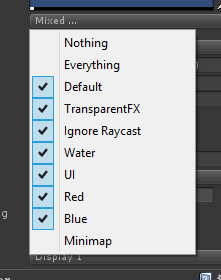
Then select the Minimap Camera and do the opposite. Leave only Minimap set and disable all the rest.

Now you can see something that looks quite like a valid minimap!
Final touches
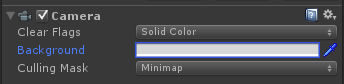
You may want to make few adjustments. First of all, let’s change Minimap Camera clear color to light-gray and Clear Flags to Solid Color, so the minimap background will do a better contrast with red and blue spheres.
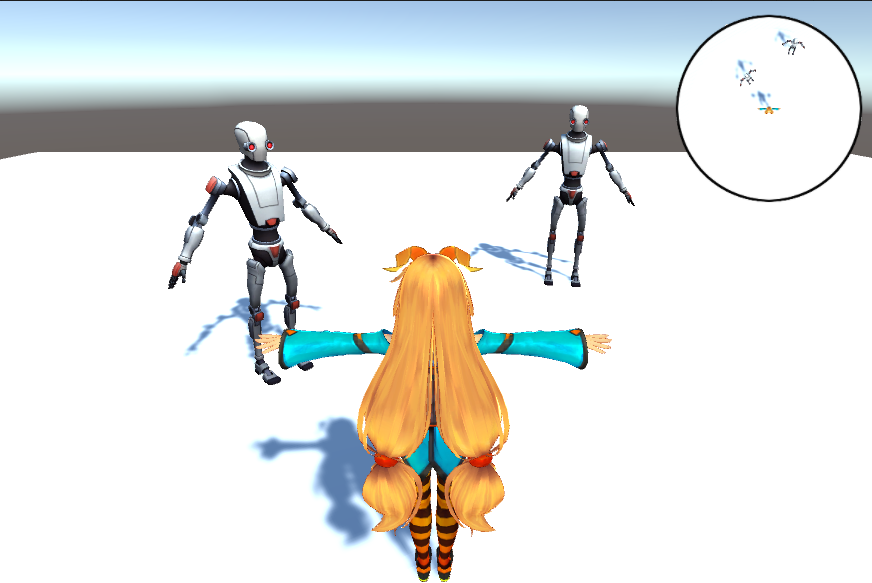
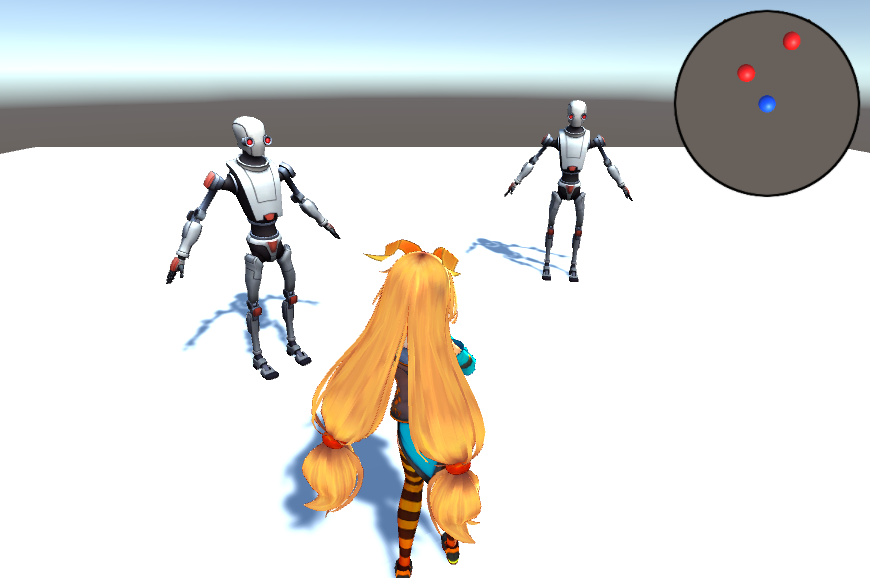
Then you can add any other Unity UI element to stick with your minimap. I will add an example label. And here’s our final result!
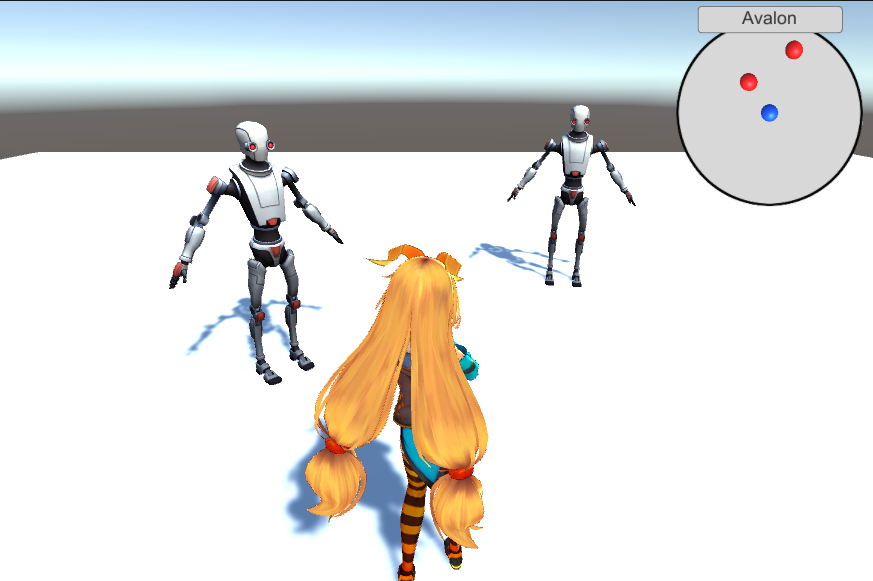
Minimap is configured in a way that moving the character will update its position. If any other robot will move too, it will be immediately visible.

And this concludes the Unity mini-map tutorial! Feel free to ask any questions you may have in comments. Don’t forget to subscribe to our newsletter for the latest Unity tips & tricks.