Making Multiplayer Games
Playing with or against other players is very different from playing alone. No AI can fully imitate the behavior of a human being – sometimes it will react too fast, other times it will make silly mistakes. More often than not, we can learn its moveset and easily predict what it will do next. Humans, on the other hand, can be really unpredictable. They can react to different situations differently, depending on their reaction time, game knowledge and predictions. There is also this sense of pride and accomplishment after beating an equally matched opponent in a fair fight. Other times they struggle together fighting against hordes of creatures and watch each other’s back. That is why people love playing multiplayer games and why we, developers, love making them.
There is, however, a huge difference between single and multiplayer games. Most of the times we will need some kind of server required to handle user connections and interactions. Often we will have to take care of account authentication, make sure players will be able to communicate with each other, receive their input and send responses, as well as store their progress for the latter access. That’s where Nakama from Heroic Labs comes in handy.
Nakama is designed to handle all difficult and time consuming development services, essential in multiplayer games. Some of the offered features are user account handling, friends, groups and clans management, real-time chat and notifications, as well as matchmaking and leaderboards. Setting it up for testing can be achieved really fast using Docker and we can start coding our own social experience right away.
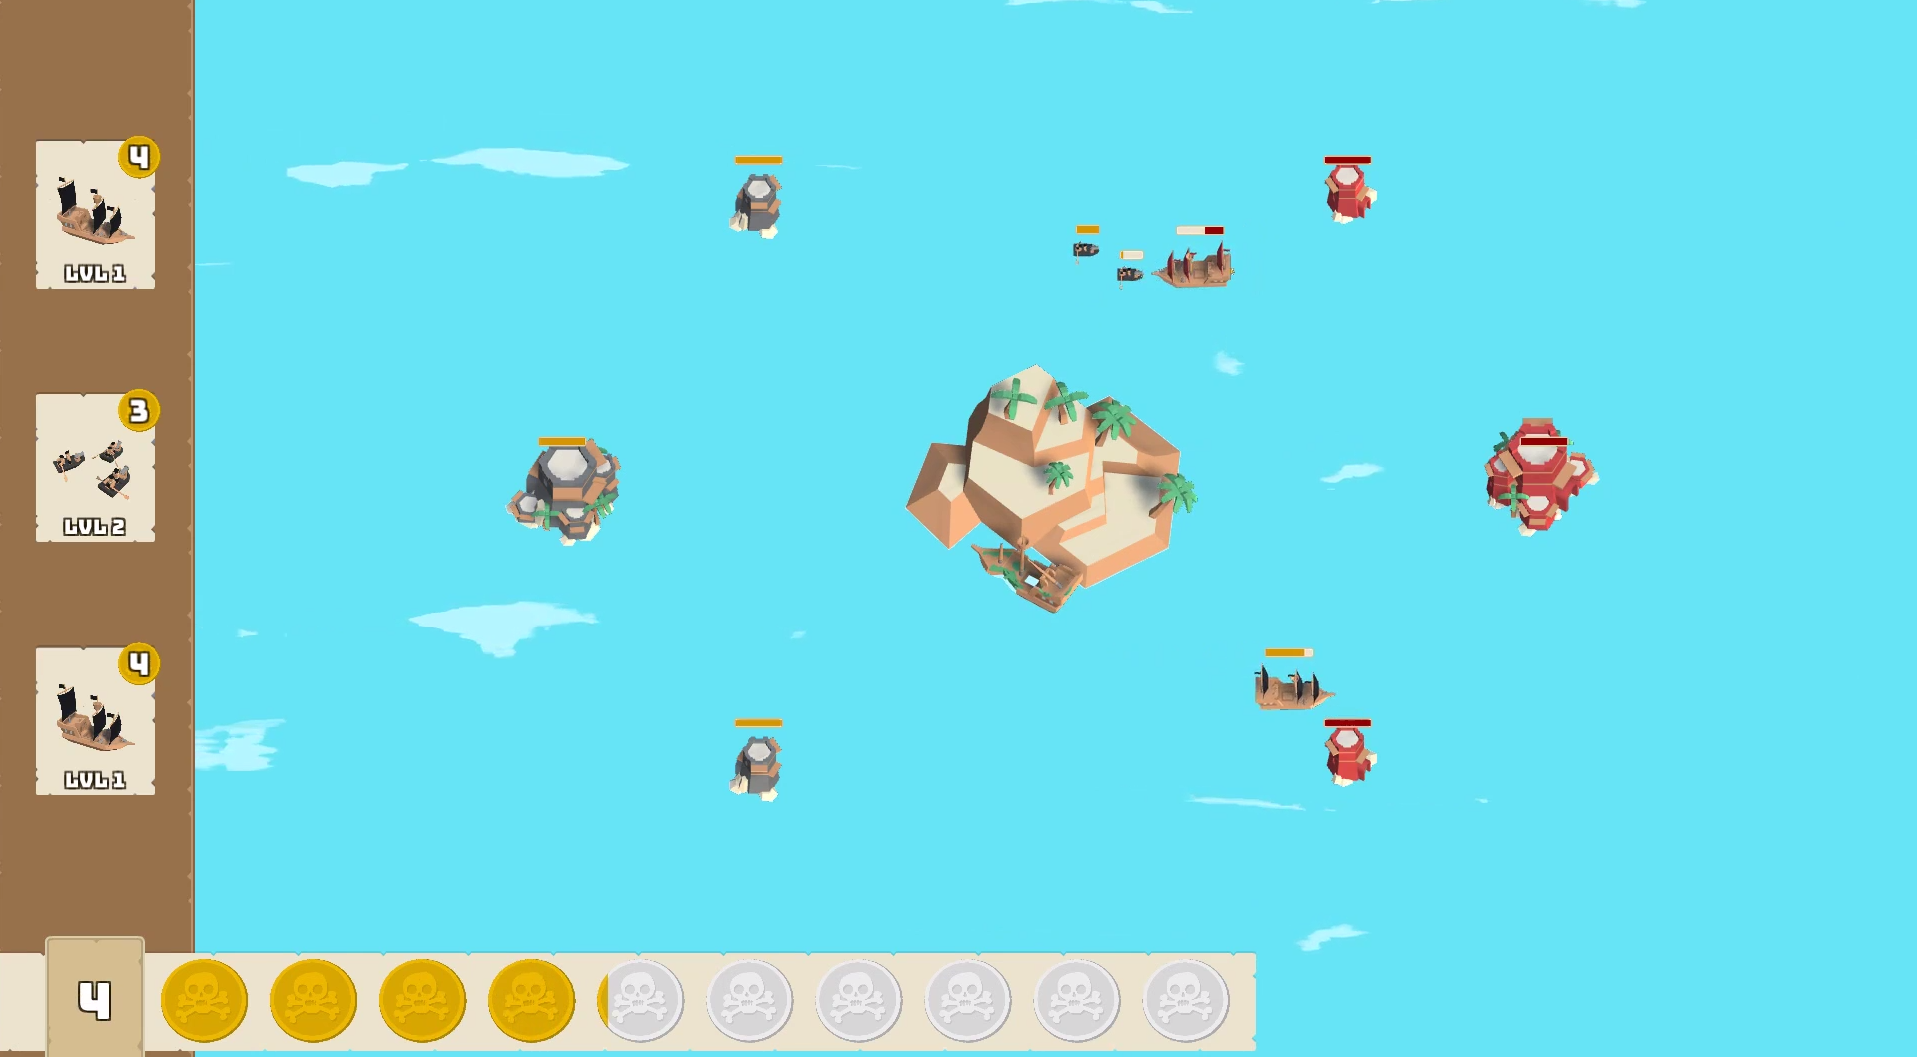
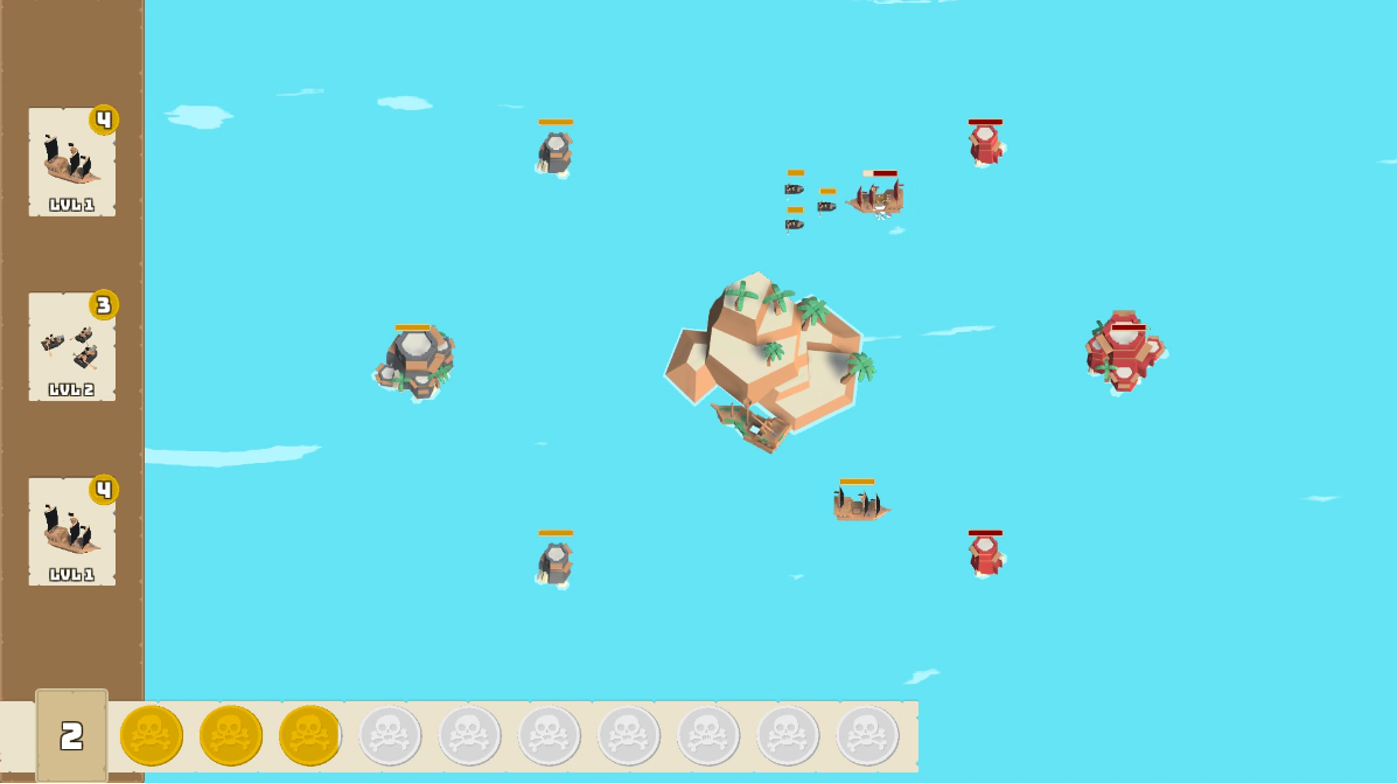
For demonstration purposes, we created a demo to showcase Nakama usage in a Unity project. All files used in this post are available here.
Quickstart
We can set up our Nakama server using one of the following methods: binaries installation or through Docker. The first method is preferred when we deploy our project for release, however, Docker allows for an easier and quicker start, and that’s enough for now.
First of all, we need to equip ourselves with Docker. Here you can find a tutorial on how to set it up (if you work on Windows 7, 8 or 10 Home editions, you need to use Docker Toolbox instead).
All the information processed by Nakama is stored in a database. Instead of manually starting containers for both Nakama and the database, we will use Docker-Compose – this will simplify the work needed to have our server up and running to just a single command. Docker-Compose reads a YAML configuration file to know how to set up our environment. Writing this file by yourself for the first time is not an easy task, that’s why Heroic Labs have already prepared one for you here, however, this file was designed for Mac and Linux systems – Windows users must make a change in volumes path, under which we will store all custom scripts used by Nakama:
...
  nakama:
        volumes:
        - ./nakama/data:/nakama/
...
to for example:
...
  nakama:
        volumes:
        - /c/Users/NakamaDemo/Data:/nakama/data
...
(Note that Docker Toolbox on Windows requires to select a folder within C:/Users directory).
Now, starting Nakama is as simple as running this command:
docker-compose -f docker-compose.yml up
Connection Test
To check whether everything is up and running, you can test your connection with the server by typing the address of Nakama or CockroachDB in your browser:
127.0.0.1:26257 – CockroachDB
127.0.0.1:7350  – Nakama
Note that Docker Toolbox doesn’t forward its containers’ addresses to localhost by default. In case we want to access Nakama only locally (from the computer running Docker Toolbox), we can connect to the server by using:
192.168.99.100:26257 – CockroachDB
192.168.99.100:7350  – Nakama
where 192.168.99.100 is the default address used by Docker Toolbox. If we want to share the access across our LAN, we need to configure the underlying VirtualBox to forward Docker’s ports. To achieve this, follow the steps below:
- Open VirtualBox which should be installed with Docker Toolbox
- Select an appropriate machine, most likely named “default”
- Make sure it’s shut down, most settings are not available when a machine is running
- Go to Settings > Network > Adapter 1, expand Advanced dropdown and select Port Forwarding
- Click twice on the + sign to create two new rules
- Change the Host Port and Guest Port of the first rule to 26257
- Change the Host Port and Guest Port of the second rule to 7350
- Leave other fields unchanged (you might change the name of the rule though)
From now on, both Nakama and CockroachDB should be visible to other devices in your network under your local network address.
Unity Setup
With Nakama up and running, we can begin to implement its functionality to our Unity project. We can either create a new project or use an existing one. In this blog, we will show samples of code from our game Jolly Rogers, made with help from Heroic Labs developers, using Unity 2018.3.0f2 (this exact version is not required – newer versions should work as well).
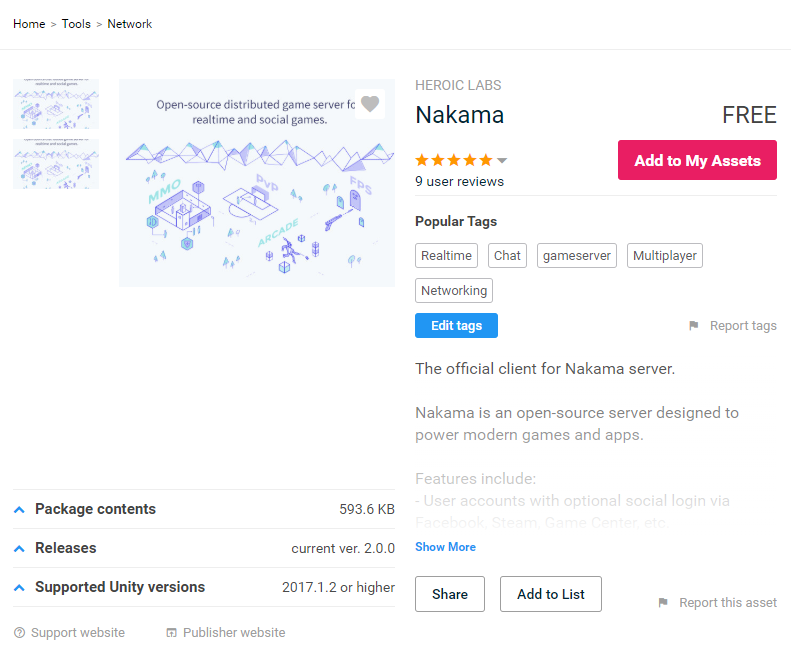
The fastest and easiest way to obtain Nakama plugin for Unity is to download it using the Unity Asset Store. A Unity package downloaded this way includes all necessary assets for creating a simple server. To add the package to your project, simply drag and drop it into your Project window or download it directly from Asset Store window in Unity.
You may also download our sample project, which contains all required plugins and .lua scripts required to run a simple game, as well as shows how to use many of Nakama features. In this demo you can find a way to create:
- simple authentication and session management systems,
- friends management and chat systems,
- clans/groups,
- storage system,
- matchmaking and leaderboards,
- real-time, host-based multiplayer.
Because all of the code samples used in this blog are from our demo game, we highly recommend downloading it and use it as a reference, as you can play with it and adjust it to your needs.
Summary
At this point, we should have Unity set up and ready for coding our own multiplayer game with Nakama. The following post will focus on establishing a connection and maintaining a session with the server. We will show user authentication sample code from our demo game Jolly Rogers.