Do you already know how to use Unity Cache Server? If you’re one of the maniacs trying to optimize every aspect of their development environment, then you most probably do! It’s a great solution for the teams that are working on large projects, especially for mobile devices. But does it make sense to install it for only one person… locally?
How Unity imports assets
The first thing you need to understand is the way Unity imports assets. When you put a file into your Assets folder, Unity executes an asset processor. The textures will be converted to optimal texture format for your target platform: sounds to mp3/ogg (or any other) conversion, models to internal Unity mesh format and so on. Some conversions are done so fast, that you won’t even notice it, but for some it may take enormous amount of time. For instance, processing Android and iOS textures may even take several hours!
This is not an issue if you’re working on a game for a single platform, but usually you are not. For instance, if you’re working on an Android game, most probably you’d like to build an iOS version too. Unfortunately when you switch your target platform, Unity removes previously processed data as you’d never intend to use it again. As a result, switching between multiple platforms may take more time than actual development of your game!
Let’s install Cache Server
Cache Server solves that issue by storing processed assets in the persistent database for later use. If you’re working alone or if your internet connection is not that great, it may be a wise choice to install it locally.
Cache Server is written on the top of NodeJS. If you’re not familiar with this technology, don’t worry. It’s distributed along with cache server zip file, so you don’t even need to install it! (well, I don’t know now why I even mentioned it…)
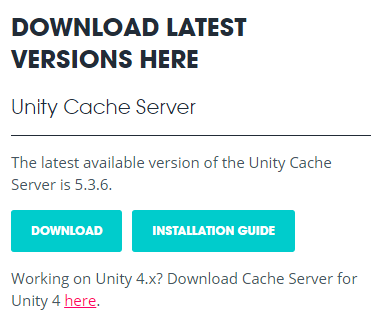
Now it’s time to get the Cache Server files. These can be found on Team License web page (Team License is now available for everyone). Just click on the download button.

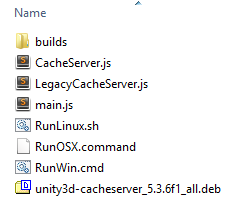
Unpack the downloaded zip contents in the location where you want to keep your processed asset database. Cache Server by default creates its database in-place, so be prepared to have at least 50 gigabytes of free space on your drive. Now you’re ready to launch it. Go into the CacheServer directory and double-click on RunWin.cmd file. There are appropriate script files for Mac and Linux too.

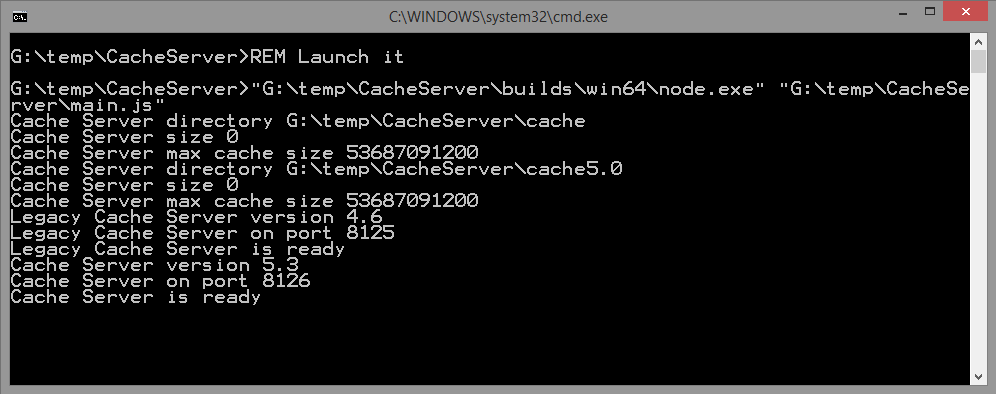
When you see the output like this one, you know that your Cache Server is operational:

Now, don’t close this command line window! Your cache server works only when it’s open. When closed, you can re-launch it again and your data will be still there, but if it’s not running Unity is not storing anything in it (obviously).
Configuring Unity
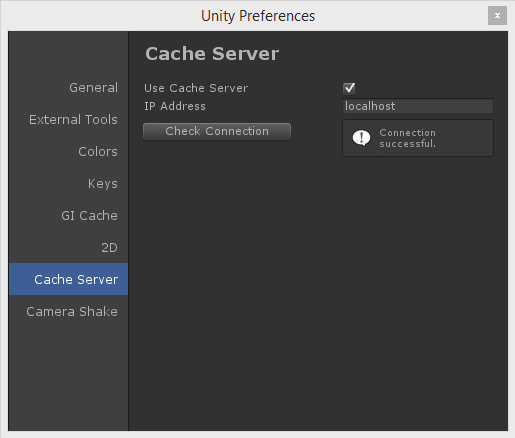
Let’s now open Unity preferences. Go into the Cache Server tab, and use localhost as the IP Address.

When you see Connection successful message, this means that your Cache Server is fully operational! Now you have to reimport your assets at least once to have it uploaded to the cache server. Later on instead of usual asset importing progress you will be seeing something like this:

How long it will take depends only on the speed of your hard drive.
If you’re interested in more information about the Cache Server, you can find it in the official Unity manual. Please also note that Cache Server may require a license different than free (it got a little confusing after latest changes in licensing, so I cannot tell for sure).
