Calculation corner based on three surfaces
Introduction
Last time you have learnt about ARKit basics. You can build simple app with horizontal and vertical surface detection. You also know more about movement and rotation in the 3D space. With prepared tools, you can calculate the corner of the room and place whatever you want there. Let’s start with calculations of the corner.
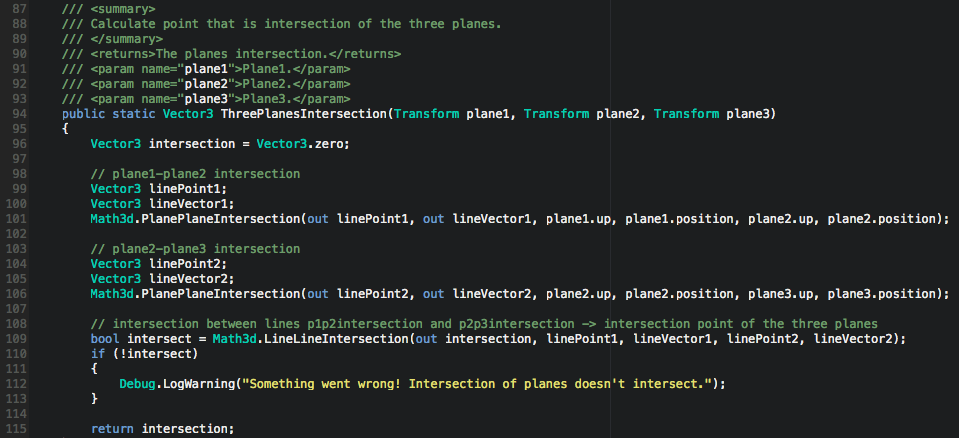
Intersection of the three planes
You have three detected surfaces and have standard unity planes placed there. To designate the corner you have to calculate the point of three planes intersection. Unfortunately, there is no plane-plane-plane-intersection method in a Math3d script but you can still use this script. You already used PlanePlaneIntersection. Having intersection of the plane 1 with plane 2 and for example plane 2 with plane 3 we can calculate corner by the intersection of these two lines. Plane intersections will always cross in the corner.
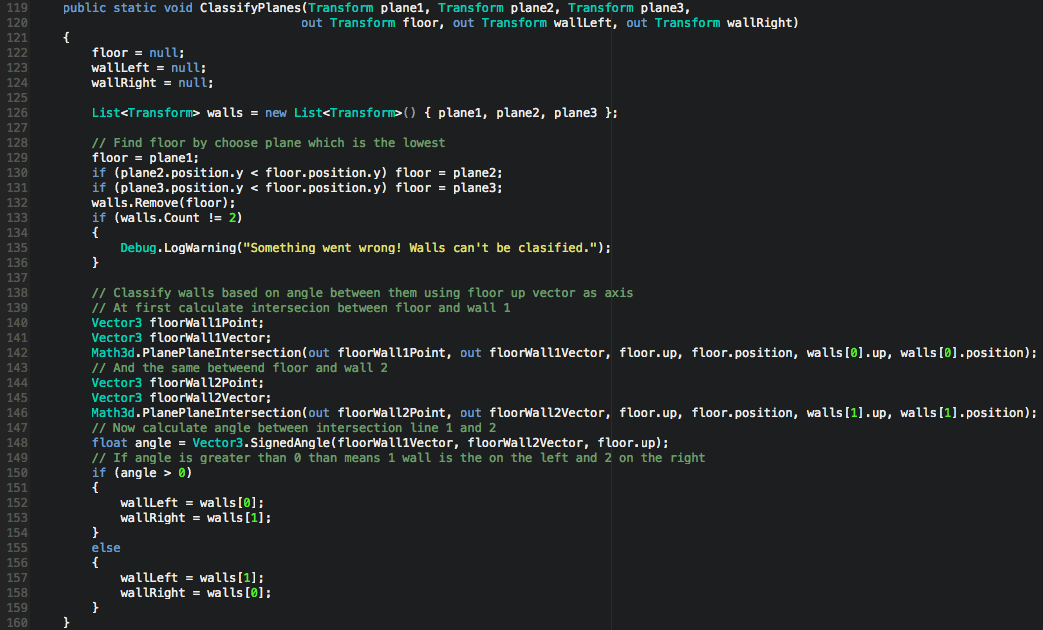
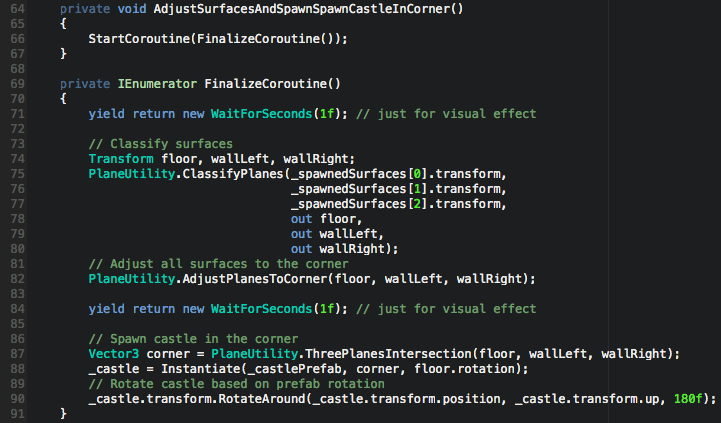
Classify floor and walls
So you now have the corner point. Last time you moved planes by their edges and they don’t intersect in the corner. Now you can adjust them based on the calculated corner. Before you start moving you have to determine which surface is a floor, right wall and left wall.
A floor can be classified based on position in Y coordinate. The floor is the lowest surface. Other two surfaces can be determined based on the angle between them around floor up vector as an axis.
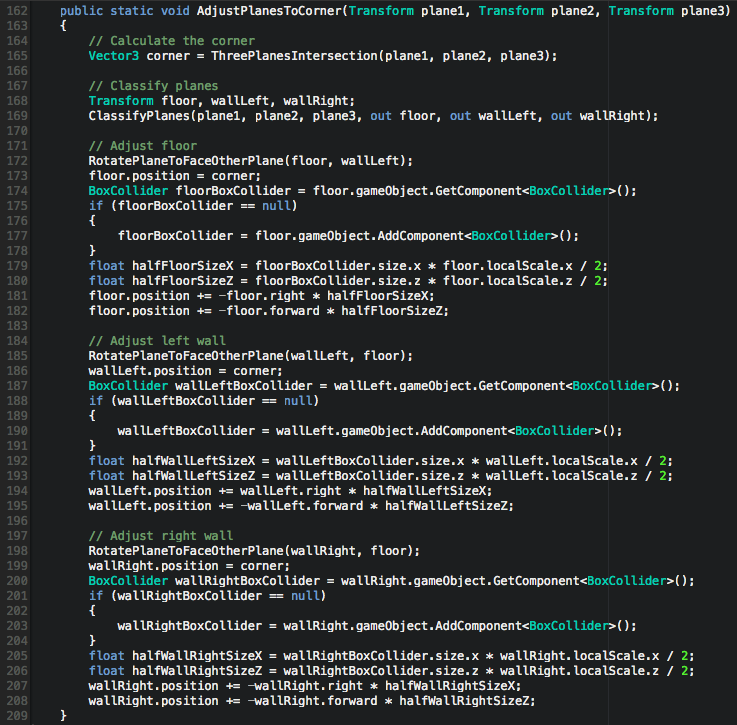
Adjust planes
Knowing which surfaces are which, you can now set them right in the corner. Let’s start with the floor. At the beginning rotate it to face left wall so you know that forward vector is directed to left wall and right vector is directed to right wall. Next change position to the corner point position. Now you just have to move in the forward direction back by half of the plane size and same with the right direction. After that your plane should have right top edge exactly in the corner.
Similar steps should be done with walls. Simple scheme: rotate to face other plane so you know directions, move center of the plane to the corner position, fix position by move in forward and right direction (in a positive or negative direction based on directions after rotate) by half of the plane size.
Spawn object in the corner
You have now calculated corner and planes that intersect in this corner. Let’s spawn some object in the corner. At first, you have to prepare some prefab. The most important thing is the pivot of the prefab. It will be easier to place it in the corner if prefab would have a pivot in its corner. Second important thing is a proper rotation. You have to know where the forward vector of the prefab is directed.
As you can see, the pivot is in the corner. Forward and right vector are directed along the prefab. If the left wall is in the front of the forward vector and the right wall is in the front of the right vector you can set the same rotation as floor and then rotate prefab by 180 degrees.

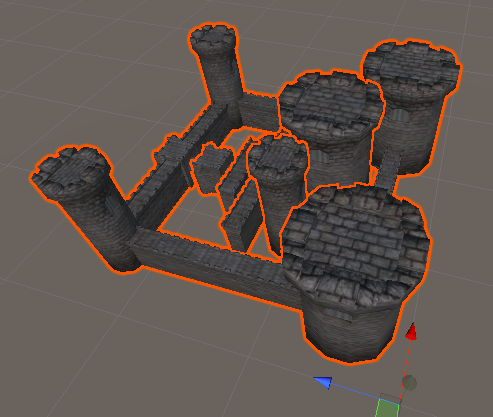
Summary
Well done! You have learnt pretty much everything about AR surface detection and math calculations in 3d space. Maybe AR is not super precise for now but it is constantly being improved. Knowing some basics will help in developing your own AR applications. At the end let’s look at how the app should present itself:
