Unity has several kinds of special folders. One of them is the Resources folder. Simple concept of storing assets is well-explained in the official documentation:
Generally, you create instances of assets in a scene to use them in gameplay but Unity also lets you load assets on demand from a script. You do this by placing the assets in a folder called Resources or a sub-folder (you can actually have any number of Resources folders and place them anywhere in the project). These assets can then be loaded using the Resources.Load function.
Still the reason why we might want to use the Resources folder may be a little confusing. First you have to understand how Unity build process is works and how Unity is able to access game assets.
Unity build process
Before you will build your game, you have to declare what scenes your game consists of. All of this can be done in Build Settings window.
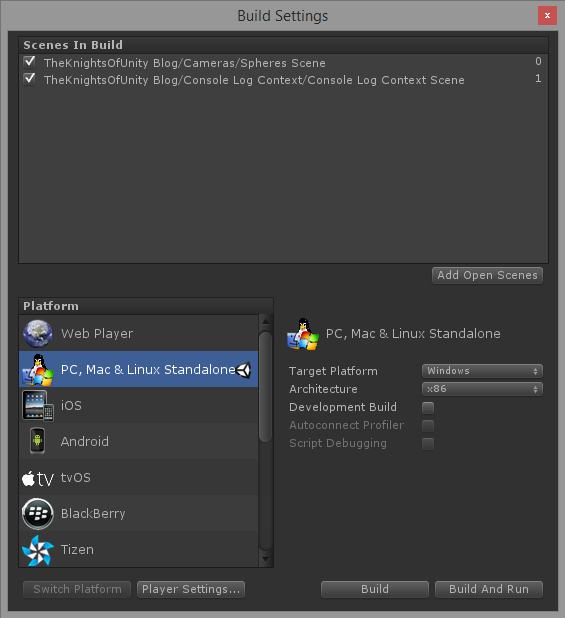
There are at least two reasons why Unity asks you to do this:
- It needs to know what scene should be loaded first (the top scene)
- It needs to know what assets should be included in your build (dependencies)
What are scene dependencies? They’re assets which are connected to the scene hierarchy in any way, usually as a component field.
The dependency diagram may look like this:
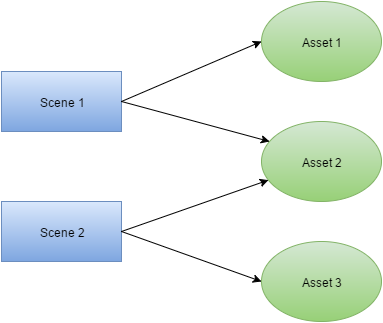
In this case there are two scenes. Scene 1 is using Asset 1 and Asset 2. Scene 2 is using Asset 2 and Asset 3. What happens if you decide not to build Scene 2?
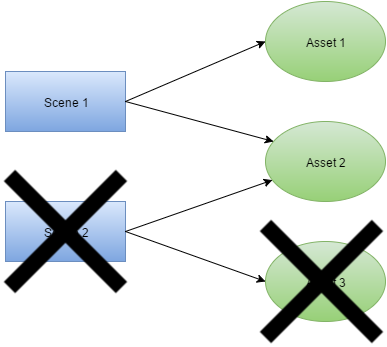
Only Asset 1 and Asset 2 will be included in the build since Asset 3 is referenced only by Scene 2, that is no longer included in the build. Thanks to this dependency tracking Unity will include in your build only these assets, which are actually used. Needless to say that you don’t have to worry about storing assets you’re not using at the moment. It will not affect your build size in any way.
Override!
There’s a way to get around this process. If you put your assets into a Resources folder, they will be always included in your build. But be careful! You need a really good reason to do so!
As I said before, in most cases when you need to use an asset, you make a reference to it within a scene. It’s really easy to use any kind of attached asset this way. So why would you need to use an asset without keeping a reference to it? There may be several reasons and each one depends on specific needs of the, but let’s look at one case what is quite common for most games.
When an asset is directly referenced from the scene, it will be loaded into the memory before your scene will be launched. Thankfully to that, player will not experience any frame-drops related to assets loading (with small exceptions). The price is of course the time needed for these assets to be loaded. Sometimes it may be not acceptable.
Example – loading screen with different backgrounds
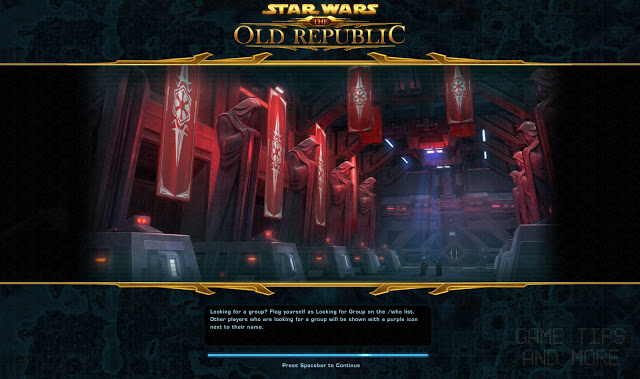
Loading screen is something that usually is also a scene. Let’s think of a case when you want to display a random image on the background while your actual game level is loading. You’ve collected 15 images and you add these to loading scene images rotation script. It is working great, but when you play your game you realize that your loading scene requires more time to load than you need to pass your actual game levels!
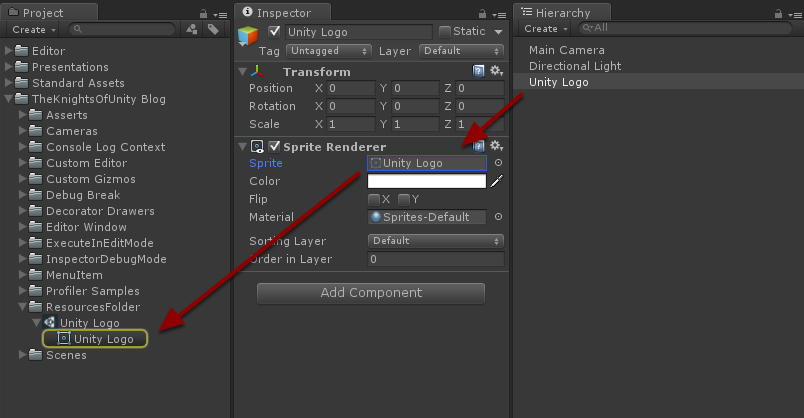
This is caused by assets pre-loading mechanism and can be easily fixed using Resources folder. First remove all the references to your textures from the scene. Then put your images into Resources/LoadingImages directory like this:
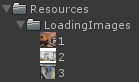
Then somewhere in the code you can use a code like this one:
int texturesCount = 3;
int textureId = Random.Range(1, texturesCount + 1);
Texture2D texture = Resources.Load<Texture2D>("LoadingImages/" + textureId);
Note that Random.Range() returns a random number between first argument inclusive and second argument exclusive, that’s why there’s +1.
If you will need to attach this texture to an Image component, you can do it like this:
Sprite sprite = Sprite.Create(
    texture,
    new Rect(0, 0, texture.width, texture.height),
    new Vector2(0.5f, 0.5f));
Image image = GetComponent<Image>();
image.sprite = sprite;
A word of caution
Use Resources folder only when you really need to. Loading assets on demand will make your FPS rate drop, and having indirect dependencies is makes your work much more difficult. It’s worth to mention again that these assets will always be included in your build, even if you don’t use them. You have been warned!