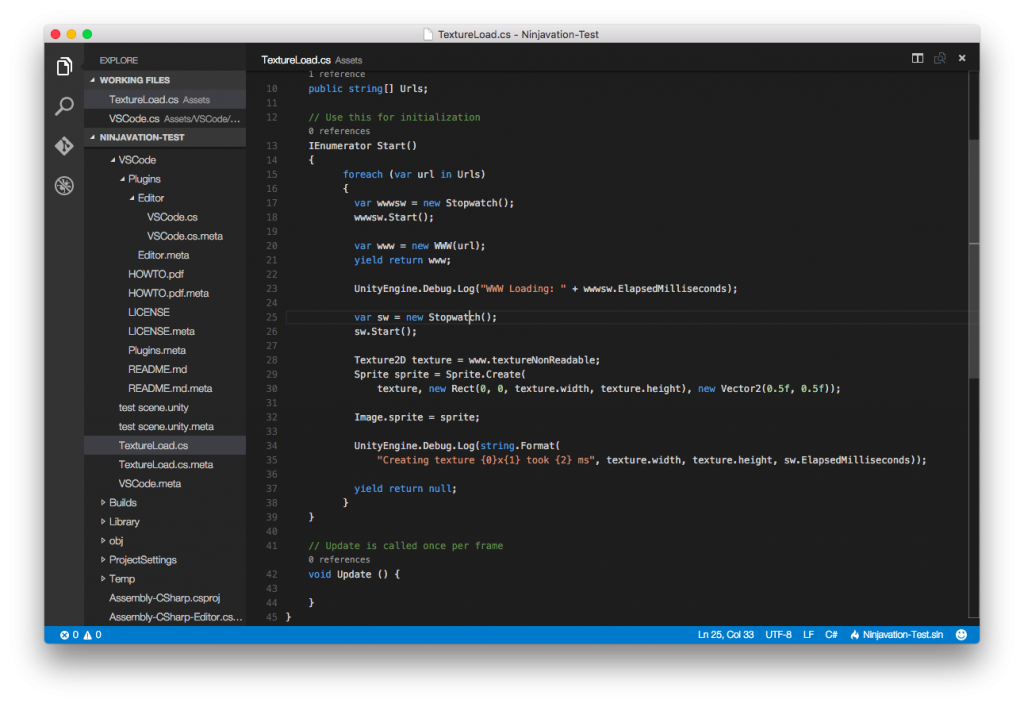
Microsoft recently released Visual Studio Code, a cross-platform, lightweight IDE based on GitHub Atom worth considering as an alternative to MonoDevelop. Unity’s team has decided to stop distributing Unity with MonoDevelop for new Unity versions. Instead, you will get Visual Studio Community bundled. Unfortunately for Mac and Linux users, you’re still bound to use MonoDevelop as default. Let’s try something else!
Don’t confuse Visual Studio Code with the full version of Visual Studio. They are completely different applications! Visual Studio Code gives you only a small portion of what Visual Studio can do. It still can be quite powerful, though.

Installing
To get started you need to download and install Visual Studio Code for your target platform. In order to do so, go to this page and download package suitable for your operating system. After you get the package, follow the standard installation procedure for your operating system.
Configuring Unity
In order to make your Unity editor work with Visual Studio Code, you have to unpack a UnityVS plugin into your project. Unfortunately, you have to repeat this process for all projects that you want to work on with Visual Studio Code.
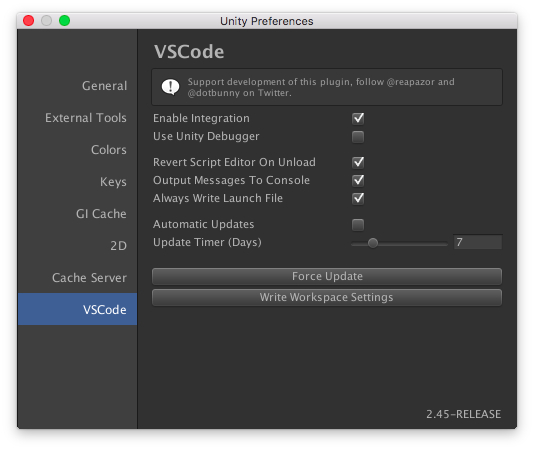
After unpacking it, go to the Preferences window (Edit -> Preferences for Windows and Linux or ⌘, shortcut on Mac OS).

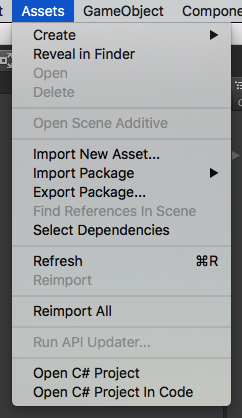
Here make sure that for VSCode tab Enable Integration checkbox is enabled. When done, you will be able to open your project using Open C# Project In Code menu option.
Possible issues
When running on MacOS it’s quite common to get an error like this one:

To fix this issue, run these commands to update mono:
brew update
brew reinstall mono
Summary
You can find more information about VSCode and Unity here. If you won’t be satisfied with it, you can always remove the VSCode directory from your project and then automatically get back to MonoDevelop.
