If you’re working on a medium or big project then you may get into a situation when pulling your project from the repository (or switching to a different branch) triggers a time-consuming process of asset importing. It can be even more painful if you’re targeting at mobile devices like Android and iOS. For instance, on iOS textures or lightmaps, the import may take even several hours! It’s a lot of wasted time because you cannot do anything during that time!

Cache Server to the rescue!
The Unity editor, in order to preserve reasonable disk space, removes the imported asset data from the project’s Library folder for those assets that have been deleted. It also removes all assets data for the assets that need to be reimported when switching the target platform. This problem can be easily solved using the Cache Server!
The Cache Server is a separate piece of software that can be installed locally (if you’re working alone) or on a remote server. It collects all the imported asset data from the Library folder and stores all of them until the upper limit is reached (by default it is 50 GB).
Pre-requirements and installation
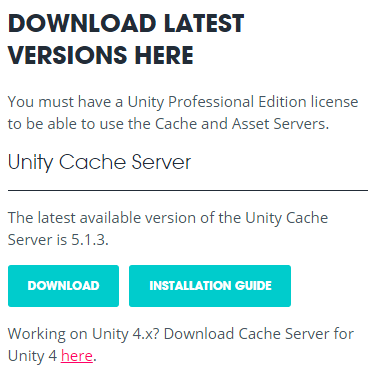
The Cache Server can be used only by Team License owners (Unity 4) or Unity 5 Professional users (Team License included).
To install the Cache Server, download it from the Unity homepage. The links are frequently updated (Cache Server version changes), so the best is to go there and download the latest version for yourself.
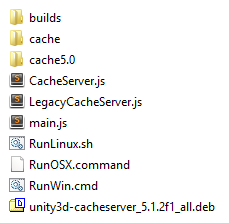
After downloading the zip file, unpack it wherever you like to store the cache (locally or on a remote server). Then all you have to do is to double-click on RunWin.cmd file if you’re running it on Windows or open the terminal and execute ./RunLinux.sh on Linux and Mac OS X hosts.
Then you have to configure the Cache Server connection for your Unity editor. If there’s more people working on the same project and they have the access to the same server machine that the Cache Server is running on, they should follow this step too.
In the Unity go to the Preferences window. Then in the Cache Server section enable the Use Cache Server option and type in your server ip or hostname.

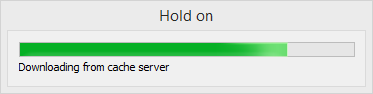
From now on, importing assets will first check for availability in our newly installed Cache Server, and then download it if present. Be aware that an asset will be present on the Cache Server if it was imported at least once after the Cache Server was enabled. Therefore, it may take some time before you notice the difference.