I believe that many of you have thought of publishing a game on Steam. It wouldn’t be surprising, as Steam is a great distribution platform for PC and now also for Mac and Linux games. But Steam is not only about distribution. When you get approved by Valve, you gain the access to something that may help you a lot with your game development. This little thing is called Steamworks.
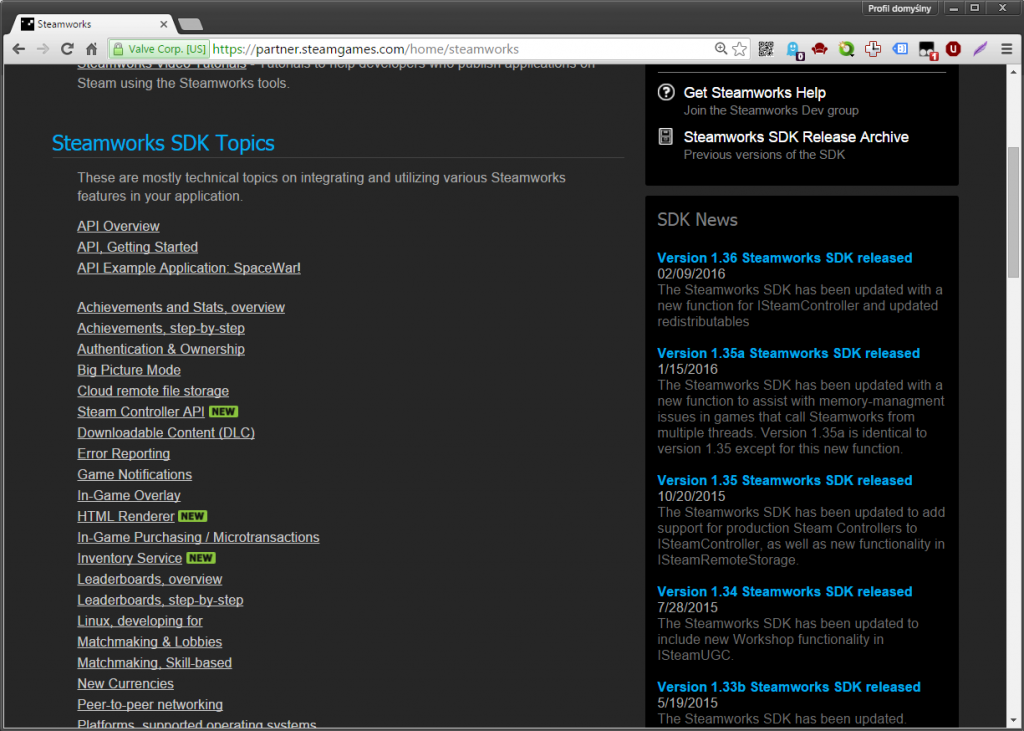
Steamworks features
Here’s a list of some most known Steamworks features:
- Achievements – provide free grass roots marketing for your application. As players unlock achievements it exposes your product to their friends.
- Error Reporting – provides dead simple error collection so that you can quickly find and fix your most common bugs. With a few simple api calls Steam will automatically collect the most common crash reports for the game or software. You can then review error reports on the error reporting page, which you can find from your application landing page in Steamworks.
- Cloud Saves – is free storage that gives players ability to play where they choose as well as the peace of mind tha they won’t lose all the work they’ve put into your game. Cloud can also be used for software applications to store work-in-progress or special configuration settings.
- Steam Workshop – is a system of storing, organizing, and downloading user-created content uploaded through your application. This makes sharing custom levels, skins, or complete mods easy and user-friendly.
- Other features to consider are stats, leaderboards, and multi-player matchmaking.
Integrating Unity game with Steamworks
Steamworks SDK is distributed as a native DLL file (*.so when talking about Mac and Linux). In order to make it work with Unity you have to create a binding. Fortunately such binding already exists and it is distributed also as an easy to install, unitypackage file!
I am of course talking about Steamworks.NET. It’s an open source wrapper distributed under MIT license (you’re free to use it even in commercial projects!). The good thing about Steamworks.NET is that the authors value API compatibility over simplicity. That means that you only need a quick look over how it should be used and when you’re familiar with the concept, all you need is the official Steamworks documentation. The downside of this approach is that callback setup need one extra step, but it’s not a hassle.
Installation
To make Steamworks.NET work you have to be a Steamworks developer and you need an AppID (this is just a number in Steam database). At the time of writing of this article you can get one after passing Steam Greenlight or by making a custom deal with Valve.
When you have acquired an AppID all you have to do is import Steamworks.NET unitypackage file to your Unity project. At the time of writing of this article the current stable version is 7.0.0, but please use installation page links instead to always get the latest version.
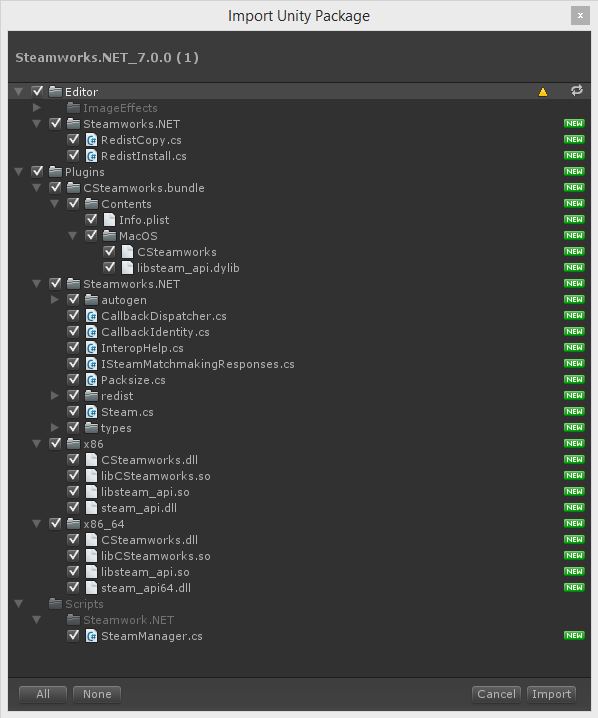
Steamworks.NET package includes libraries for Windows, Mac and Linux in x86 and x86_64 architectures. After importing it you don’t need to add anything else to your project. Even official Steam dll/so is included, so there are just two more steps to go.
After importing the package, a new file called steam_appid.txt will be created in your project root directory (this is the one that contains the Assets and Library folders). Open it in the text editor and replace 480 with your Steam AppID.
Finally, the last step – create a new empty game object on your scene and add SteamManager script to it. There! Now you’re good to go!
Checking to make sure it works
Make sure that Steam is running. Then create a script like this:
using UnityEngine;
using Steamworks;

public class SteamScript : MonoBehaviour {
    void Start() {
        if(SteamManager.Initialized) {
            string name = SteamFriends.GetPersonaName();
            Debug.Log(name);
        }
    }
}
Add this script to a new game object on your scene and hit the Play button. If everything is OK, you will see your Steam name in your Unity Editor console!
When something went wrong you will end with an error message that may not tell you what exactly has gone wrong. If you’re working on Windows then you may want to get DebugView application. Just run it before running your Unity game and after the error is printed out, alt-tab to DebugView window and see if there’s something more in there.
More information and getting help
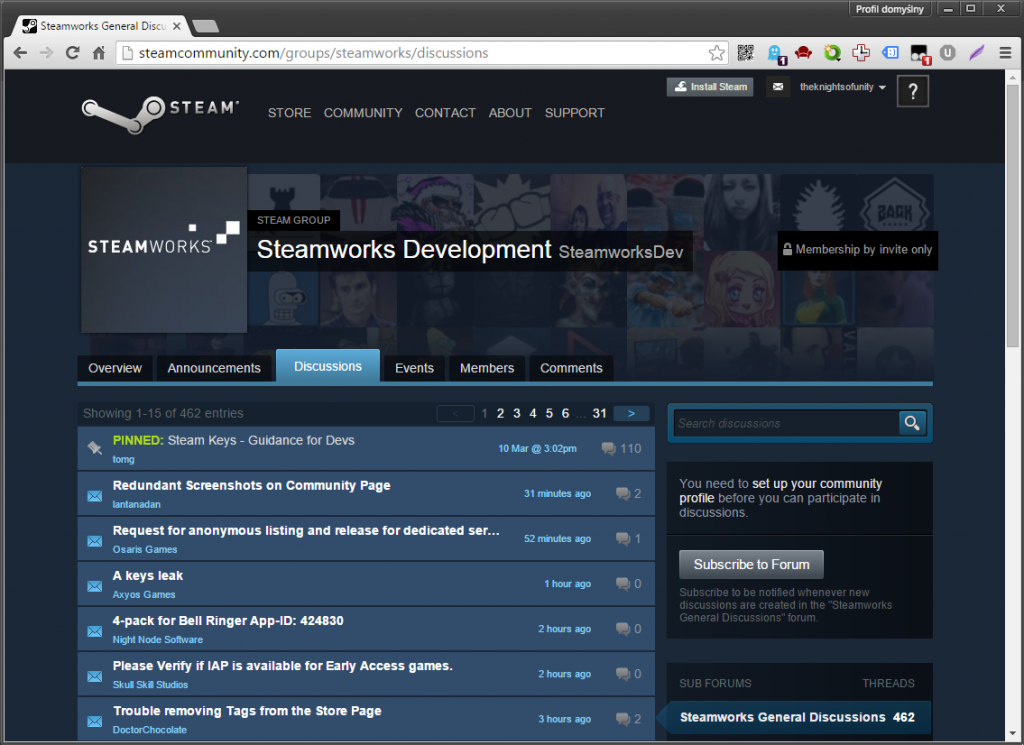
You can learn more about how to get started (and how callbacks should be handled) on the Getting Started page of Steamworks.NET documentation. It you ever feel lost, you can use SteamworksDev discussion group. It’s invite-only so you should contact Steam about getting access to this one. It is worth it!
If you ever feel lost, please leave a comment here or reach the Knights using our Facebook page.