Plane movement and rotation in 3D space
Introduction
Last time you have learnt about basics of ARKit and how to use it to detect surfaces. You should also know how to get input from the plugin and calculate angles between detected surfaces. That allows you to gather three perpendicular planes which is the first step to corner detection in AR.
Let’s get rid of default game objects that ARKit Plugin is spawning after the surface is detected and create something instead.
Unity plane instead of ARKit default surfaces
At first, you have to find ARKit Plugin code where game objects are spawning and disable it.
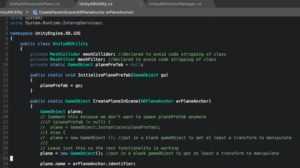
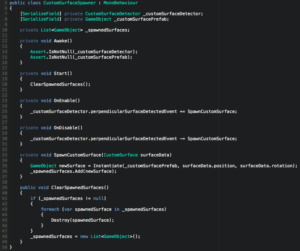
Then prepare plane prefab for spawning. To make it easier to see in the app, change the scale of the standard unity plane to 0.1. After that, you just have to spawn this plane whenever the new surface is detected or better whenever perpendicular surface is detected. That will limit the number of spawned planes to three – this is enough for the room corner.
Planes are spawned – what’s next?
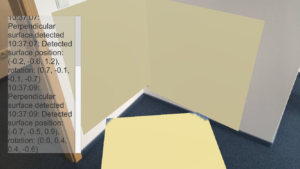
If you build the app you can see how planes are spawned. As you can see they are not exactly on the corner as you would wish. What is going on then? You spawn plane exactly in the position where the surface is detected by ARKit Plugin. You also give the same rotation as the detected surface. Would you like to move these planes so they will be exactly on the corner? But in which direction should you move it? You don’t know because of local rotation around the Y axis. If the forward vector of the plane would face the other plane, then you will just move in direction of this forward vector. It would be so simple. So let’s check how to rotate this plane!
Rotating planes
Do you wonder what you should do to rotate these planes? I will help you! At first, let’s start with two planes placed somewhere in the 3D space.
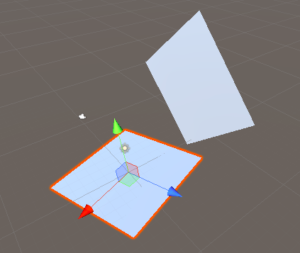
Let’s assume that they are almost perpendicular (like our detected surfaces). To make the first plane face another plane with vector forward you have to find current face vector and calculate the angle between those two vectors. By face vector, I mean vector that is directed right to the intersection of those two planes (it falls at the right angle on this line). Let’s make it in a few steps:
- Find the intersection of the two planes
- Find face vector
- Calculate the angle between forward and face vector
- Rotate around the Y axis
- Finding the intersection of the two planes.
To make life easier you can use Math3D script from http://wiki.unity3d.com/index.php/3d_Math_functions to get some math calculations done. You can use PlanePlaneIntersection method to achieve step one.

2. Finding the face vector.
To designate face vector you will need a point on the intersection line. Face vector and intersection line are perpendiculars so point on intersection line that is the end of face vector and is in the closest distance from the start of the face vector (centre of the plane).
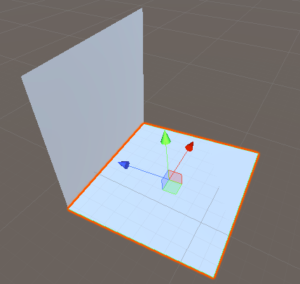
Knowing that to calculate the end of face vector you can use method ClosestPointsOnTwoLines
using intersection line and up vector of the plane. These lines are perpendicular so the closest points on these lines are always centre of the plane and end of the face vector that you need to calculate.

Now you can easily designate face vector.

3. Calculating the angle between forward and face vector.
Needed angle is an angle between the forward vector and calculated face vector.

4. Rotating around the Y Axis.
Rotate the plane with a given angle around local axis Y.


Now you know how to properly rotate one plane to the other so you can just do the same with other planes thanks to prepared methods.
Moving planes
You have now well-rotated planes but there is still a gap between them or they are crossing. It’s time to move them a little bit.
Because now plane is facing another one, you can use the forward vector as a direction. Also, forward and face vector is directed on the same side and face vector ends exactly on the intersection line. That gives you the distance between plane1 centre and intersection line between those two planes. Just subtract half of the plane size and you’ll have the exact distance to move.
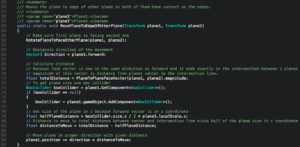
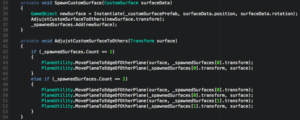
Having these methods you can adjust planes during the detection process. Planes will be more like real walls and floor. Let’s use prepared methods on three planes. To make the process easier assume that the first plane is the floor and others are walls.
Summary
After this part you should know more about rotation and movement. You can adjust your planes so they look much better and more like surfaces in the corner of the room. Knowing more about mathematical calculations you are prepared for the final step – calculate the corner and spawn some cool object right there!
