Here’s our final blog tutorial for the FSM. We will review what we’ve discussed on the first part, and implement the FSM System that we did before.
Just a recap on the previous parts:

This will be the loop of our FSM. First we initialize the FSM, create states, create actions, and map them all together. After we have mapped them, we will now start the FSM and indicate the state that the AI will start to. Now, the AI will change to a specific state, and the FSM will initialize the action, update it until it the action finishes and sends an event indicating that the action is finished. Finally, the FSM will go back and change the state.
Now it’s time to implement them.
Text Action
Let’s create a TextAction so that we’ll see the FSM System first hand.
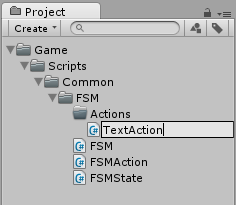
Let’s first import the Common.FSM so that we could use our FSM system, and let this class inherit the FSMAction class.
using UnityEngine;
using System.Collections;
using Common.FSM;

public class TextAction : FSMAction
{

}
Let’s now write the variables and constructor for this specific action.
private string textToShow;
private float duration;
private float cachedDuration;
private string finishEvent;

public TextAction (FSMState owner) : base (owner)
{
}

public void Init (string textToShow, float duration, string finishEvent)
{
this.textToShow = textToShow;
this.duration = duration;
this.cachedDuration = duration;
this.finishEvent = finishEvent;
}
textToShow is the string that we will print out in the console when updating. Duration is the length of this action, and the finishEvent is the call to transition to another state.
Let’s override the virtual functions of the FSMAction so that the FSM could call them.
public override void OnEnter ()
{
if (duration <= 0) {
	Finish ();
	return;
}
}

public override void OnUpdate ()
{
duration -= Time.deltaTime;

if (duration <= 0) {
	Finish ();
	return;
}

Debug.Log (textToShow);
}

public override void OnExit ()
{

}

public void Finish ()
{
if (!string.IsNullOrEmpty (finishEvent)) {
	GetOwner ().SendEvent (finishEvent);
}
duration = cachedDuration;
}
OnEnter will handle all the things that we want to do when starting an action. Just like a Start() in MonoBehaviour, we will initialize our action at this stage. Update will be called by the FSM’s action processor, that is called by the FSM’s Update function, and that is called by our AI’s class. On exit of course, will be the things that we will do when we finishes an action. Personally, I’d rather have a finish function that will send the event.
AI Implementation
Now that we’ve made an action, let’s make an AI.
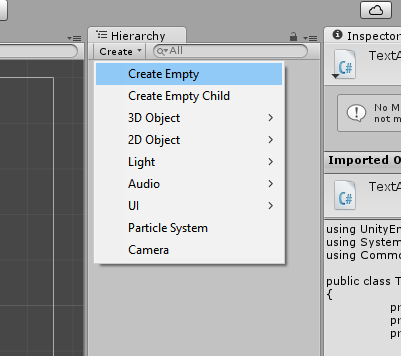
Let’s create an empty that will hold our AI script.
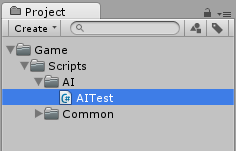 After creating an empty, let’s create a script that will implement our FSM system and the action that we made.
Let’s make two FSMStates and two FSMAction for our AITest. Don’t forget to import Common.FSM or we won’t be able to use the FSM system that we’ve made.
using UnityEngine;
using System.Collections;
using Common.FSM;

public class AITest : MonoBehaviour
{
	private FSM fsm;
	private FSMState PatrolState;
	private FSMState IdleState;
	private TextAction PatrolAction;
	private TextAction IdleAction;
}
Again, fsm will be the engine of our state machine, we will have two kinds of state, PatrolState, and IdleState. It’s up to you how you want to name them. Lastly, we will have two text actions, one for each state, PatrolAction, and IdleAction.
Let’s now create the FSM, States, and Actions in the Start() function.
private void Start ()
{
	fsm = new FSM ("AITest FSM");
	IdleState = fsm.AddState ("IdleState");
	PatrolState = fsm.AddState ("PatrolState");
	PatrolAction = new TextAction (PatrolState);
	IdleAction = new TextAction (IdleState);
}
First, we will initialize the FSM, then add new states. Remember, FSM.AddState() returns FSMStates so that we won’t have to declare a new FSMState, and add them to the FSM.
Now that we have states and action, let’s now map everything, and add event ids to every transitions.
//This adds the actions to the state and add state to it's transition map
PatrolState.AddAction (PatrolAction);
IdleState.AddAction (IdleAction);

PatrolState.AddTransition ("ToIdle", IdleState);
IdleState.AddTransition ("ToPatrol", PatrolState);
We mapped the PatrolState to IdleState when an event was sent to the state and vice versa. Let’s now initialize our actions.
//This initializes the actions
PatrolAction.Init ("AI on patrol", 3.0f, "ToIdle");
IdleAction.Init ("AI on Idle", 2.0f, "ToPatrol");
The first property which is a string, will be the output of our action, the second one will determine the duration of the action, and the last property will be the event that it will send out after the action is finished.
Keep in mind that everything here is inside the start function. Let’s now try and make the FSM work by calling the FSM.Start() and FSM.Update();
//Starts the FSM
fsm.Start ("IdleState");
private void Update ()
{
	fsm.Update ();
}
Again, fsm.Start() is called after all initialization under the Start(). Now let’s attach the AITest to the empty game object that we created earlier and press Play in the editor.
Now finally, watch the automation happens!
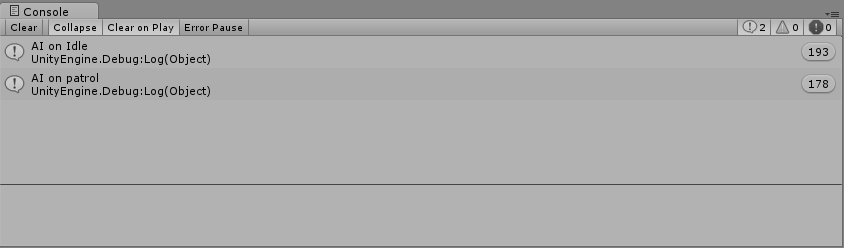 AI will print out Idle for every 2 seconds and will Patrol every 3 seconds.
Moving Action
 Now let’s take it to another level. Let’s make a moving object and at the same time, printing out strings in the console. But we’re not going to do it in one action. We’ll be creating another action that will be added to the same state.
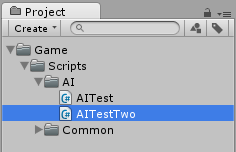
Let’s make another script called AITestTwo.
 Let’s create another action called MoveAction. This will be a generic action for moving object.’
Open up the MoveAction.cs and let’s write the action.
MoveAction.cs is different, we have to have a reference to the object’s transform so that the action could move it.
using UnityEngine;
using System.Collections;
using Common.FSM;

public class MoveAction : FSMAction
{
	private Transform transform;
	private Vector3 positionFrom;
	private Vector3 positionTo;
	private float duration;
	private float cachedDuration;
	private string finishEvent;
	private float journeyLength;
	private float polledTime;


	public MoveAction (FSMState owner) : base (owner)
	{
	}

	public void Init (Transform transform, Vector3 from, Vector3 to, float duration, string finishEvent = null)
	{
		this.transform = transform;
		this.positionFrom = from;
		this.positionTo = to;
		this.duration = duration;
		this.cachedDuration = duration;
		this.finishEvent = finishEvent;
		this.journeyLength = Vector3.Distance (this.positionFrom, this.positionTo);
		this.polledTime = 0;
	}
}
Let’s discuss the properties. As I said above, we will need to have the object’s transform to be referenced in this action since we want THIS action to move the object, NOT the AI Class. Pretty self explanatory, Vector3 from, and to. Again, duration of the action, and the finish event.
As you see there, we have two variables that aren’t included in the Init() properties which is the journeyLength, and polledTime. We will use them for our Vector3.Lerp function later on. The polled time will be included in our calculation later on.
public override void OnEnter ()
{

	if (duration <= 0) {
		Finish ();
		return;
	}

	SetPosition (this.positionFrom);
}

public override void OnUpdate ()
{
	polledTime += Time.deltaTime;
	duration -= Time.deltaTime;

	if (duration <= 0) {
		Finish ();
		return;
	}

	SetPosition (Vector3.Lerp (this.positionFrom, this.positionTo, Mathf.Clamp (polledTime / cachedDuration, 0, 1)));
}

private void Finish ()
{
	if (!string.IsNullOrEmpty (finishEvent)) {
		GetOwner ().SendEvent (finishEvent);
	}

	SetPosition (this.positionTo);
	this.polledTime = 0;
	duration = cachedDuration;
	this.journeyLength = Vector3.Distance (this.positionFrom, this.positionTo);
}

private void SetPosition (Vector3 position)
{
	this.transform.position = position;
}
Now we added a helper function for position which is the SetPosition() to make things easier for us. Again, OnEnter() initializes the action, the OnUpdate() will be the one that will execute the Lerp function. This is also where we will calculate the ratio that is needed for the Lerp function. When the action finishes, we will set the object to the desired final position, and reset our variables.
Multi-action Implementation
Now, let’s go and set up the second AI.
using UnityEngine;
using System.Collections;
using Common.FSM;

public class AITestTwo : MonoBehaviour
{
	private FSM fsm;
	private FSMState MoveLeftState;
	private FSMState MoveRightState;
	private TextAction MoveLeftTextAction;
	private TextAction MoveRightTextAction;
	private MoveAction MoveLeftAction;
	private MoveAction MoveRightAction;

	private void Start ()
	{
		fsm = new FSM ("AITest FSM Two");
		MoveLeftState = fsm.AddState ("MoveLeftState");
		MoveRightState = fsm.AddState ("MoveRightState");
		MoveLeftTextAction = new TextAction (MoveLeftState);
		MoveRightTextAction = new TextAction (MoveRightState);
		MoveLeftAction = new MoveAction (MoveLeftState);
		MoveRightAction = new MoveAction (MoveRightState);

		//This adds the actions to the state and add state to it's transition map
		MoveLeftState.AddAction (MoveLeftTextAction);
		MoveLeftState.AddAction (MoveLeftAction);
		MoveRightState.AddAction (MoveRightTextAction);
		MoveRightState.AddAction (MoveRightAction);

		MoveLeftState.AddTransition ("ToRight", MoveRightState);
		MoveRightState.AddTransition ("ToLeft", MoveLeftState);

		//This initializes the actions
		MoveLeftTextAction.Init ("AI moving left", 1.0f, "");
		MoveRightTextAction.Init ("AI moving right", 1.0f, "");
		MoveLeftAction.Init (this.transform, new Vector3 (1, 0, 0), new Vector3 (-1, 0, 0), 1.0f, "ToRight");
		MoveRightAction.Init (this.transform, new Vector3 (-1, 0, 0), new Vector3 (1, 0, 0), 1.0f, "ToLeft");

		//Starts the FSM
		fsm.Start ("MoveLeftState");
	}

	private void Update ()
	{
		fsm.Update ();
	}
}
We now have two actions for each state. The FSM will now update two actions in one state. What we did here is just the same from what we did on the TextAction.cs. We made instances of the classes, added the actions to states, and added transitions and calls to those states, and initialized the actions.
Now let’s hit play and hope that it works properly.
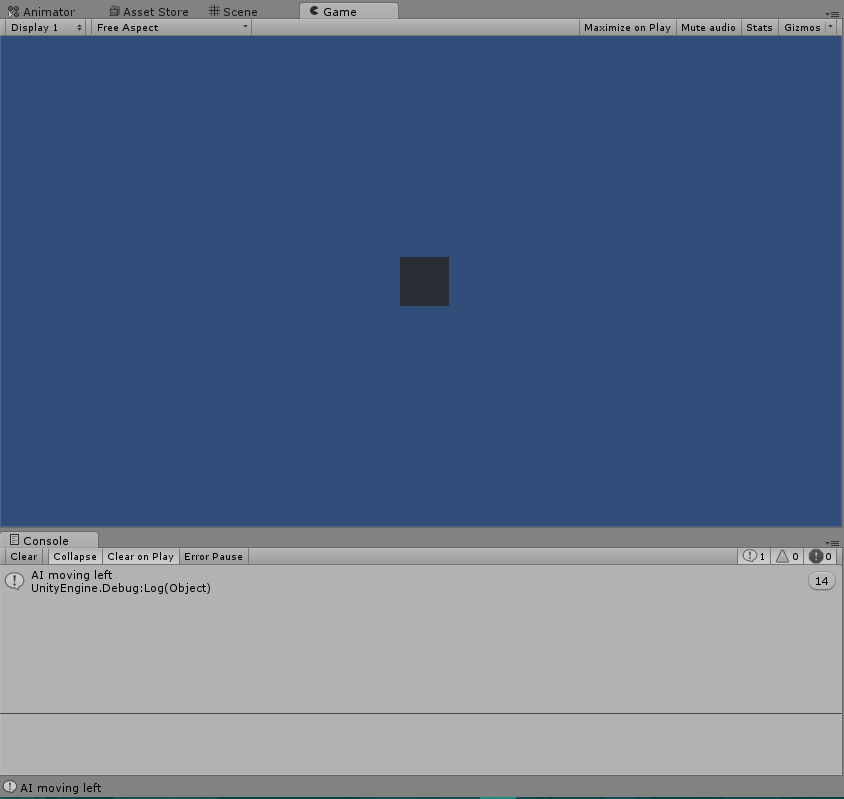
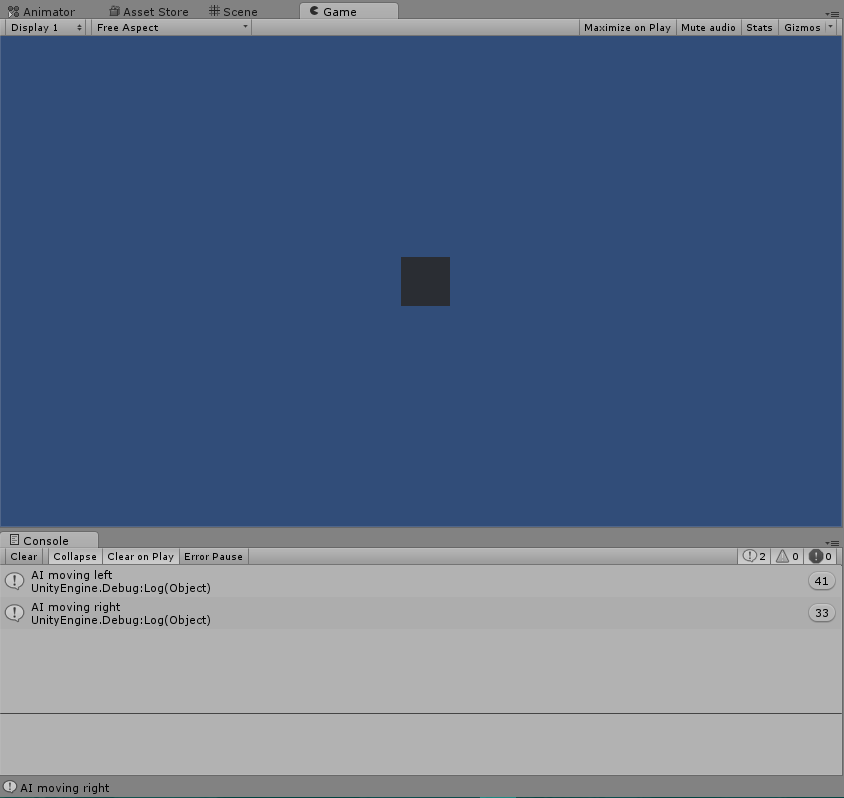
As you can see, the AI is now doing the actions at the same time. You can mix different actions and add them dynamically to your desired state.
What’s great about this is that you can add a lot of actions and contain them into one state and do them simultaneously. Although it will cause you some performance issues if you’re on mobile. What I suggest is that, when you use it for mobile, just do at least 1 or 2 actions simultaneously just for safety. I haven’t done real tests for mobile though.
So there it is, we have concluded our Dynamic FSM tutorial. I hope that this will become helpful for your games. You could use this in any game, in any way. Whether you use it on UI, GameObjects, or whatever fits your needs. Please do remember to comment if you have any questions, I am happy to send a reply as soon as I can!
FSM is a really big topic to cover in three parts, so here are few of the FSM-related articles and implementations if you want to understand it a little better. I believe these will explain FSM much further:
This is the link for the unity package if you want to see the whole project.
This is the link for the scripts that we made all throughout.